Home Roller Skating Rink: Garage, Basement, Yard Setups
How to build a home roller skating rink in a garage, basement, or backyard — flooring options, costs, prep steps, safety tips, and sourced specs.
USA Skating Rinks Editorial Team
Updated May 29, 2026 · Editorial policy
A home roller skating rink can fit in a one-car garage, a finished basement, or a backyard pad — the constraints are mostly flatness, surface friction, and how forgiving the floor is when someone falls. This guide breaks down the realistic flooring options, what each costs, and how to prep the space, drawing on manufacturer documentation and flooring industry sources rather than anecdote.
For a broader look at where to skate outside the house, see the main skating rinks directory, or browse public options like the Michigan roller rinks list.
Pick the space first
Three locations dominate home builds:
- Garage — the most common choice. A standard two-car garage gives roughly 400 sq ft of usable area once you account for support columns and storage. Concrete slabs are already in place, but most garage floors have cracks, slope toward the door for drainage, and dust easily.
- Basement — quieter, climate-controlled, and unaffected by weather. Ceiling height (often under 8 ft) and support posts are the constraints. Existing concrete or plywood subfloor can be built up into a skating surface.
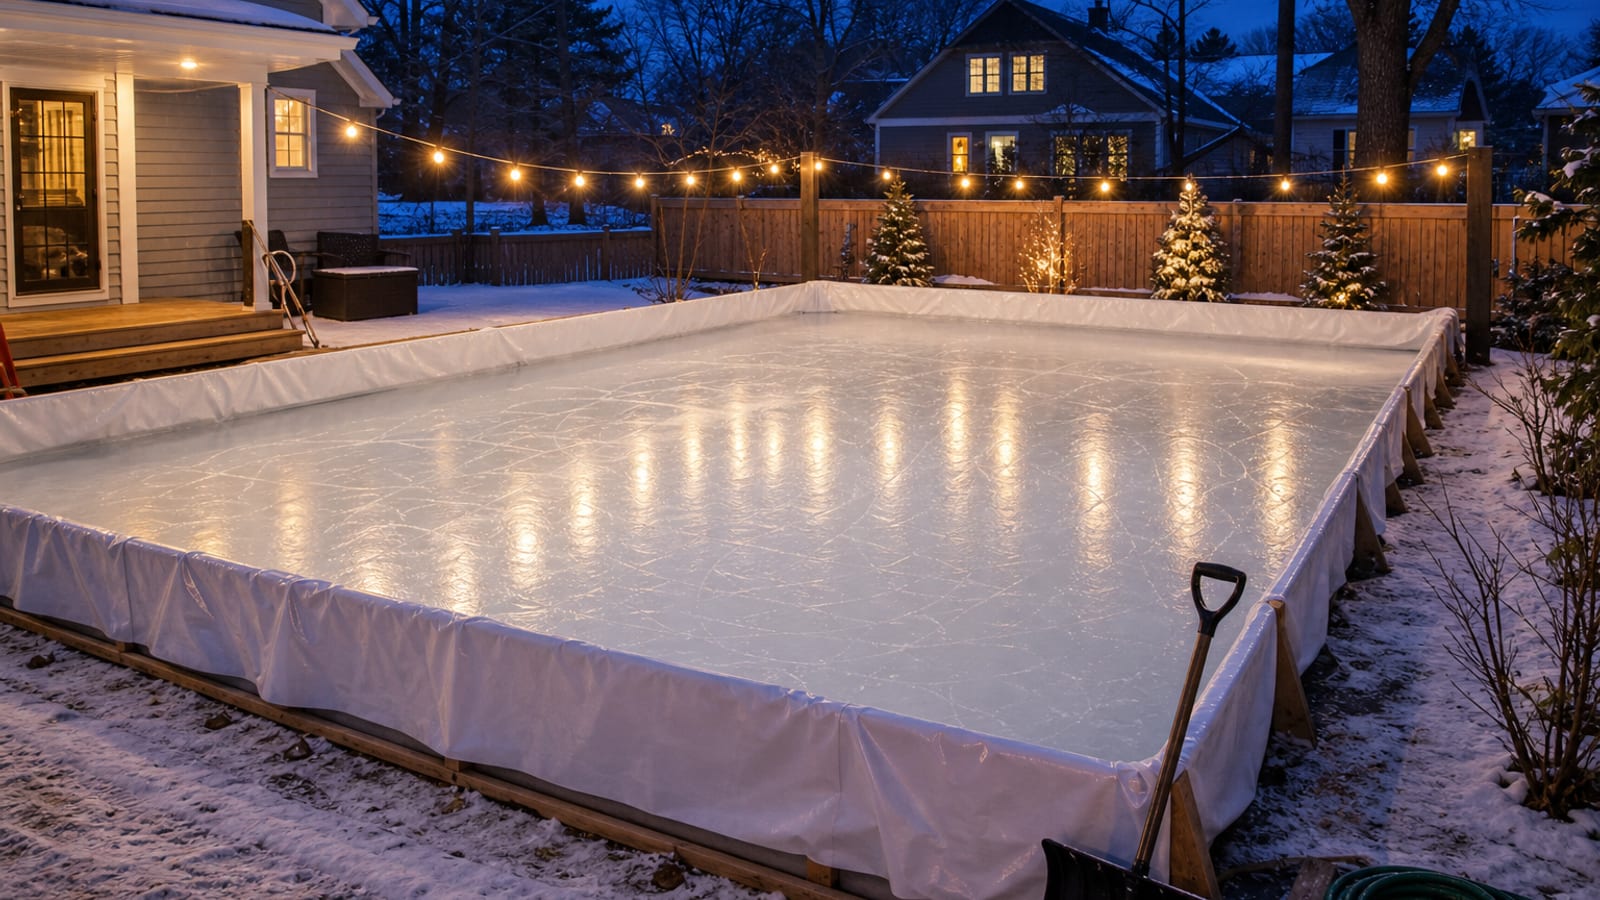
- Backyard — the largest possible footprint, but you are committing to a permanent slab or a modular tile system that handles UV, rain, and freeze-thaw cycles.
Whichever you pick, the underlying surface needs to be flat and level before any rink material goes down. Floor imperfections should be filled — garage floor epoxy is commonly used to seal small cracks before laying a finish surface.
Flooring options and real costs
Five materials cover essentially every home roller rink build. The cost ranges below come from a flooring industry breakdown of rink materials:
| Material | Installed cost | Lifespan | Best for |
|---|---|---|---|
| Maple hardwood | $8–$12 / sq ft | 40–50 yrs | Indoor, premium feel |
| Concrete + coating | $5–$10 / sq ft | 30+ yrs | Garage, backyard slab |
| Polyurethane | $6–$10 / sq ft | 20–25 yrs | Indoor, seamless surface |
| Synthetic sport tiles | $4–$7 / sq ft | 15–20 yrs | DIY, modular |
| Plastic laminate | $2–$4 / sq ft | 5–10 yrs | Budget, temporary |
A few notes on each:
Maple has a Janka hardness rating around 1450, with a surface friction coefficient of roughly 0.5–0.6, which is the range traditional commercial rinks target. It needs a flat, dry subfloor and refinishing every 3–5 years. It is the most expensive option for a home build but lasts the longest.
Concrete with a sealed coating is the default for backyard rinks. Many guides recommend keeping the slab no thicker than about 4 inches with proper drainage planned in. Bare concrete is fast and slick — experienced skaters often prefer it for speed and tricks — but falls hurt more than on wood.
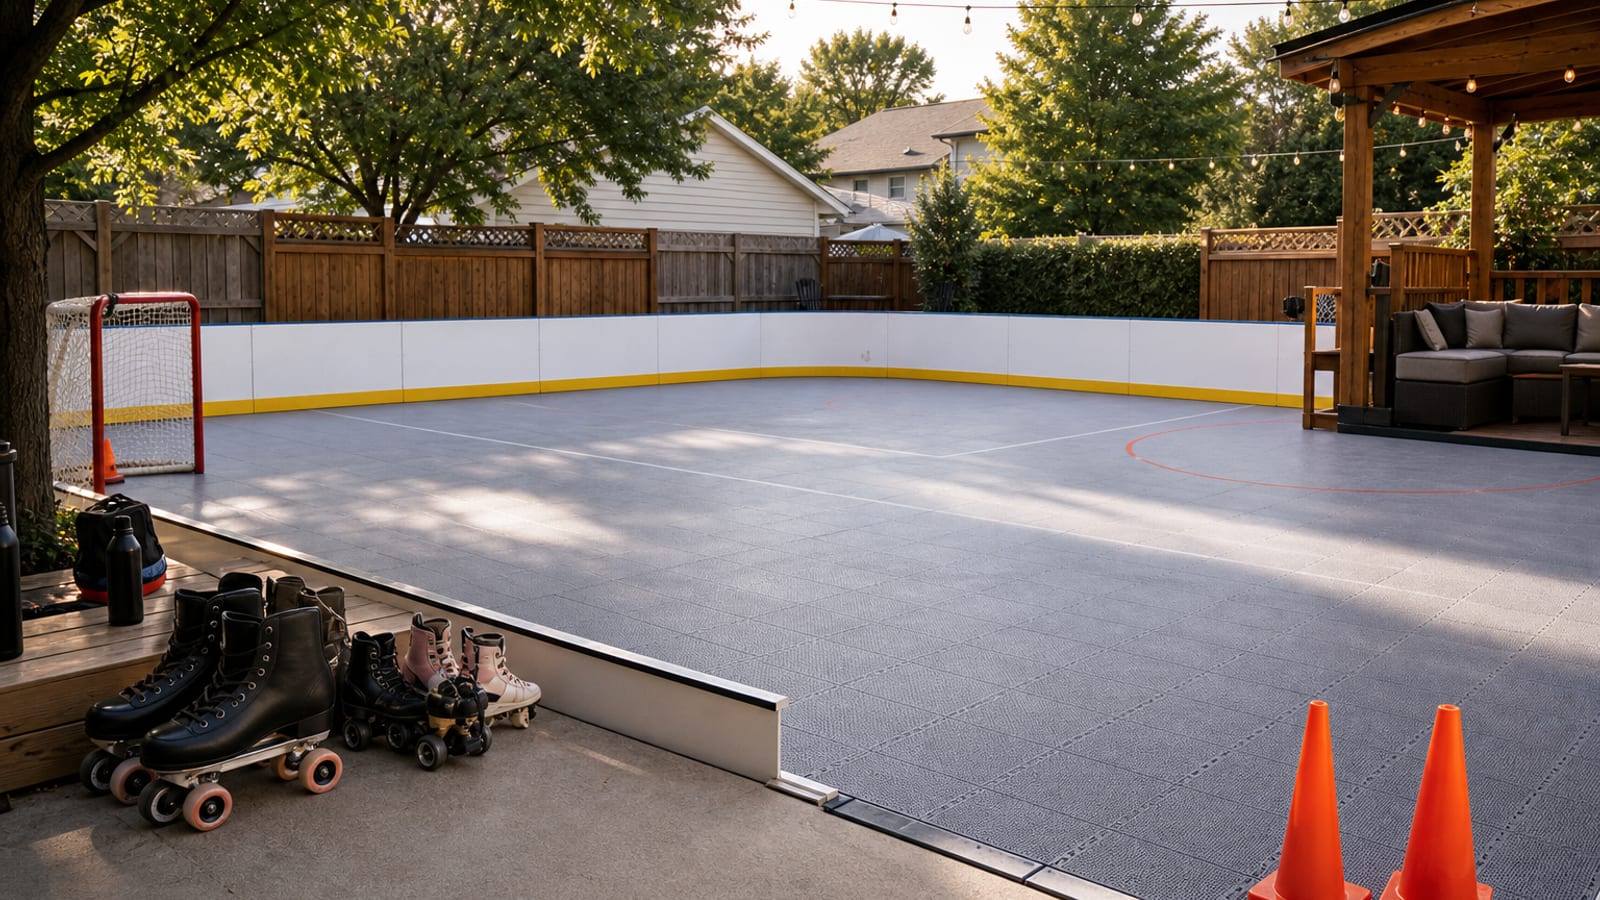
Synthetic sport tiles (polypropylene interlocking panels) are the practical pick for most DIY garage and backyard builds. VersaCourt’s Compete tile, for example, uses a two-level surface where wheels run on the top layer for speed and dig into the lower layer for cornering, and the perforated design drains water for outdoor use. Modular tiles are easy to install, easy to move, and forgiving of minor subfloor imperfections.
Polyurethane (poured) floors give a seamless surface but require a perfectly level base — any subfloor flaw shows through and can cause buckling or cracking later.
Plastic laminate is cheap and works for casual home use, but it scratches, dents, and reacts badly to moisture.
Prepping a garage
A workable garage conversion typically follows this sequence:
- Clear and clean the floor completely. Sweep, degrease, and let it dry.
- Assess flatness. Use a long straightedge or laser level. Spots that are out of plane by more than about a quarter inch over a few feet will need self-leveling compound or a plywood overlay.
- Seal cracks with concrete patch and apply a garage-floor epoxy if you are skating directly on concrete. Let it cure fully before any traffic.
- Lay the chosen surface — interlocking tiles directly over the slab, or plywood underlayment followed by maple, laminate, or a poured finish.
- Add wall padding. Thick foam pads or gym wall mats on the perimeter cushion falls and protect drywall.
- Upgrade lighting. Most garages are under-lit; brighter overhead fixtures or supplemental LEDs make uneven surfaces and obstacles visible.
- Add a bench or seating outside the skating zone so skaters can put on equipment without sitting on the floor.
Backyard rink build
Outdoor builds add weather and drainage to the problem. Site prep starts by clearing all vegetation, rocks, and debris, then compacting and leveling the base. For a poured slab, professional finishing is typically needed to get a perfectly level, smooth surface — homeowner-finished concrete tends to leave trowel marks and high spots that catch wheels.
Modular outdoor tile systems are the lower-risk DIY route. They tolerate minor subgrade imperfections, drain through perforations, and can be lifted and re-laid if the base settles. Acrylic sport coatings over an existing concrete or asphalt pad are another path — they add UV resistance and traction without a full rebuild.
Whatever the surface, plan drainage before you build. Standing water destroys wood, lifts coatings, and creates slip hazards.
Safety essentials
A home rink is only useful if it does not send people to urgent care. A reasonable minimum kit:
- Wall padding or foam tiles on any hard vertical surface within fall range
- Helmet, wrist guards, knee pads, and elbow pads available for users
- A clear “skate zone” with no tools, cords, or stored items inside the perimeter
- Adequate lighting — shadows hide debris and surface changes
- A no-skate rule when the floor is wet (especially on polyurethane or coated concrete)
What to skip
A few features that look good in social videos but rarely pencil out for a home build:
- Rink-grade tongue-and-groove maple over a sprung subfloor — overkill for residential square footage and budgets unless you are a serious skater
- Poured polyurethane in a garage that sees vehicles or heavy storage — the surface is not built for point loads
- DIY concrete pours larger than a small pad — finishing a slab smooth enough to skate on is a specialty trade
FAQ
How much space do you actually need?
A usable home rink can start around 200–300 sq ft for casual skating in tight circles, but most skaters want at least the footprint of a standard two-car garage (roughly 400 sq ft) to take real strides. Outdoor backyard builds commonly run 600–1,200 sq ft.
Is concrete or wood better for roller skating at home?
Concrete is faster, cheaper if a slab already exists, and very durable, but harsher on falls and joints. Wood — particularly maple — gives a softer feel and is the traditional commercial rink surface, at higher cost and with periodic refinishing. For most home builds, modular sport tiles split the difference.
Can you skate on a sealed garage floor without any added surface?
Yes, if the slab is flat, crack-free, and sealed with a smooth garage-floor epoxy. Bare or unsealed concrete sheds dust that gets into wheel bearings and is rougher than it looks. Most guides recommend at least an epoxy coating before regular skating.
Sources
- What Is a Roller Skating Rink Floor Made Of? (5 Materials You Need!) — material cost ranges, lifespans, maple Janka hardness and friction coefficient, refinishing intervals
- PolyGlide Ice — Best Roller Skating Surface — concrete vs. wood vs. tile tradeoffs, home installation steps, outdoor surface considerations
- VersaCourt — Skating Rink Flooring — modular polypropylene tile specs, two-level surface design, drainage perforations
- PaceCourt — Outdoor Skating Rink Flooring Guide — site prep, drainage requirements, acrylic and modular tile options for outdoor use
- Fleximounts — How to Turn Your Garage into a Roller Skating Rink — garage prep, epoxy crack sealing, lighting, wall padding, seating